TL;DR Not all sands produce the same result in a mould. This article explains the main sand types used in casting, how their grain and binders affect surface finish and strength, and three quick checks you can do before a pour to reduce defects.
Choosing the right sand for a mould affects detail, strength and how cleanly the metal casts. Whether you are working on a studio bronze, a prototype or a one-off architectural piece, practical choices about grain size, binder and moisture usually have a bigger effect than brand claims. Below are clear, actionable points to help you specify and test sand before ordering or reusing it.
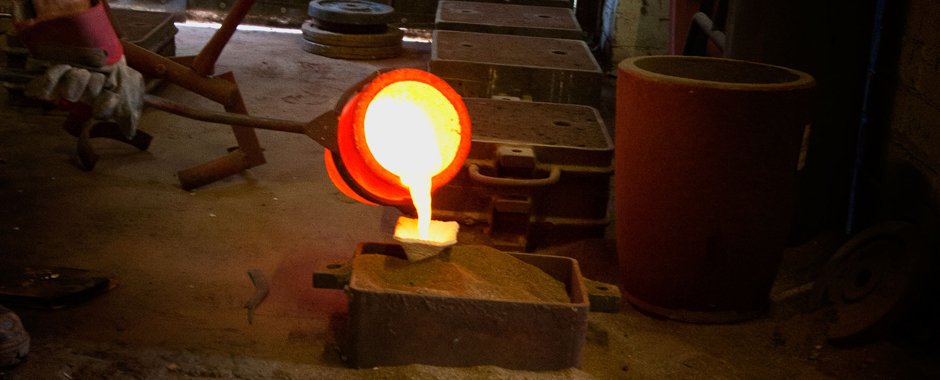
Why sand matters in sand casting
The sand in a mould determines three things most readers notice first: surface texture, how much detail the mould will hold, and the strength of the mould when metal is poured. Grain shape and size control the surface finish; a rounded grain gives a smoother appearance while angular grains lock together and resist collapse better. The binder holds the grains in place long enough for pouring, then typically breaks away during cleaning.
Understanding these effects makes it easier to match sand to the work. The next section outlines common sand types and what to expect from each so you can choose the right starting point.
Types of sand and what each is used for
Foundry sands fall into broad categories. The three you will encounter most are silica (quartz) sand, olivine, and synthetic/resin-bonded sands. Each has pros and cons depending on metal, temperature and desired finish.
- Silica sand: Widely used and economical. Good for many general applications but can produce a slightly coarser finish and may react with certain alloys at high temperatures.
- Olivine: Often chosen for steel or where lower thermal expansion is required. It can give a cleaner surface on high-temperature pours.
- Resin-bonded or chemically bonded sands: Used when detail and dimensional accuracy are essential. These sands tend to be more expensive but reduce surface defects and improve mould stability.
Understanding the binder matters as much as the grain. Clay-bonded sands (commonly used in small foundries) are forgiving and reworkable, while chemically bonded sands are engineered for single-use precision.
How to choose and test sand for your project
Match the sand to three project realities: the alloy and its pouring temperature, the level of surface detail required, and whether the mould must be reused. Use these practical checks before a first pour or when accepting used sand:
- Grain size check: Take a small sample and rub it between your fingers. If it feels very sharp and sandy you are looking at a finer grain; coarser sands feel grittier and will produce rougher surfaces.
- Permeability test: Pack a small cavity and blow gently through a vent hole. If air passes easily, the sand will allow gases to escape during pouring and reduce gas defects. If it is too tight, consider adding coarser sand or improving venting.
- Strength and moisture check: Make a small test lump of the sand mixed as you plan to use it and press. If the lump crumbles easily it may lack binder or be too dry; if it is sticky it may be over-wet. Aim for a consistent feel that holds edges under pressure but breaks cleanly during shakeout.
For studio bronze work, a fine silica with a small percentage of clay binder is often adequate and easy to reclaim. For larger steel pours or where thermal stability is critical, consider olivine or a specialised low-expansion sand.
Common issues and how to avoid them
Many defects trace back to one of a few avoidable sand problems. The following checks and simple adjustments address the most common causes of blemishes and structural failures in castings.
- Blowholes and gas defects: Improve venting, increase permeability, and avoid introducing organic matter into the sand. A permeability check before pouring helps identify risks.
- Poor surface detail: Use finer grain or a resin-bonded option for high-detail pieces. Ensure the pattern is clean and well-supported when ramming the mould.
- Collapsed cores or mould faces: Increase binder content, check moisture levels, or use a backing sand with higher strength. For delicate sections, consider internal supports or a skin of finer sand.
Each of these troubleshooting steps leads naturally into tests you can run on a trial pour or test piece. Running a small test uses little material and reveals whether the sand choice needs adjustment before committing to a full pour.
FAQ
For fine sculpture work, a finer grain sand or a resin-bonded option typically produces the best surface detail. If you require very sharp textures consider a small test piece first to confirm results.
Reclaimed sand can be economical. Screen out fines and restore binder where needed. Track performance over cycles and do a test pour if you are unsure of dimensional or surface effects.
Olivine is often selected for higher pouring temperatures or when thermal stability matters. It can reduce some thermal-related defects compared with silica on certain alloys.
Check vents and risers, confirm adequate sand permeability, and remove organic contaminants from patterns and sand. A trial pour on a small test piece can confirm whether these steps have resolved gas issues.
Summary and what to do next
Sand selection is a practical decision based on the metal, the level of finish required and whether you will reclaim sand. A brief grain, permeability and moisture check will catch most avoidable problems before a pour. For studio and fine-art projects, start with a small test mould to validate any new sand or mix.
If you would like technical advice for a specific alloy or a test pour, Bronzecraft can advise on sand selection and trial procedures to reduce risk on the day. See: Sand Casting