
TL;DR Focus on clean wax models, sensible sprue layouts and gradual shell building to reduce defects. Control burnout and metal flow with well-placed vents and a predictable pour, then refine the surface with systematic fettling and patination. These practical steps help improve yield and reduce rework for professional bronze work.
Lost-wax casting remains a dependable route to detailed bronze components when the workflow is controlled from wax to finish. The techniques below concentrate on repeatable practices that reduce common faults such as misruns, porosity and surface blemishes. Read the short checklist in the first section, then follow the step-by-step sequence to apply the methods in a typical foundry workflow.
Key points to check before you start
- Model integrity: avoid undercuts that trap air; prefer consistent wall thickness where possible.
- Sprue logic: use a primary sprue to feed all cavities and short risers to minimise turbulence.
- Shell build: alternate coarse and fine layers; wet out each coat fully to avoid dry pockets.
- Burnout schedule: ramp slowly through moisture removal, then hold to ensure complete wax escape.
- Pour control: aim for steady flow and correct metal temperature for the alloy and section sizes.
When you need broader context on method choice and alternative workflows, see Bronze Casting Techniques: Complete Guide. For an overlapping process overview focused on applications, consult Lost-Wax Bronze Casting: Process And Applications.
Step-by-step practical workflow
Arrange the work as a sequence where each step prepares reliably for the next. Start with the wax model and end with planned finishing operations so you can inspect for defects early and reduce scrap.
1. Prepare the wax model and gating
Choose a modelling wax suited to carving and welding. Keep modelling joints neat and melt small imperfections into the surface rather than carving them out later. Lay out a gating system that favours gravity feed: a single, reasonably sized primary sprue that runs to the thickest section, with well-placed risers to act as visible indicators of metal feed. Keep runner lengths short and avoid sharp changes in cross-section that cause turbulence.
2. Invest and build a reliable shell
Use an investment slurry that matches your working temperature and the detail level required. Apply an initial coat that penetrates all detail, then alternate coarse and fine stucco layers to build strength without trapping moisture. Allow each coat to cure sufficiently; rushed layers increase the risk of cracking during burnout.
3. Controlled burnout and dewaxing
Program a burnout that removes moisture first, then slowly raises temperature to enable complete wax flow. Hold at an intermediate soak to let any remaining volatiles escape. Rapid heating risks steam expansion and shell failure, while too-low temperatures can leave wax residues that cause surface defects.
4. Pouring and metal management
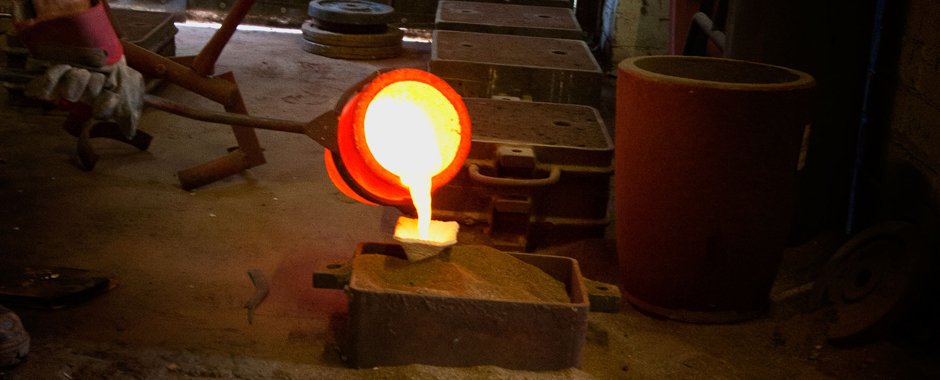
Prepare metal to the correct pouring temperature for your bronze grade and section sizes. Pour steadily to avoid cold shuts; where possible use a tundish or ladle that gives a smooth, controllable stream. Monitor riser behaviour during trial pours and adjust sprue sizes for subsequent castings to balance metal feed and cooling.
5. Knockout, finishing and surface control
Remove the shell once the casting has cooled enough to avoid distortion but before the metal becomes too brittle to work. Cut sprues and weld any seams as required; work systematically from major to minor defects. For surface finish, progress from coarse to fine abrasives and consider specialised patination recipes only after the surface is stable and clean.
When to use lost-wax and where it fits
Lost-wax excels when you need high detail, thin walls and a faithful reproduction of modelling texture. For larger, simpler shapes or when cost is the primary factor, sand-based methods may be preferable. For a fuller comparison of methods and recommended use cases, see Bronze Casting Techniques: Complete Guide.
FAQ
Aim for a consistent wax thickness between 3 and 6 mm for hollow sections; very thin walls can lead to porosity while very thick walls risk shrinkage defects.
Control burnout to remove volatiles, ensure investment is well mixed and dried, and use vents to allow trapped gases to escape during pouring.
Printed waxes or castable resins are viable but require attention to support removal and burnout characteristics; test small runs to confirm behaviour before production casting.
Summary and what to do next
Consistent results come from reducing variables: tidy wax work, considered gating, disciplined shelling and a measured thermal schedule. Keep a short log of each run noting metal temperature, pour time and observed defects; small adjustments to sprue size or burnout soak often produce major improvements. To deepen procedural knowledge and see method comparisons, consult Bronze Casting Techniques: Complete Guide and the process overview at Lost-Wax Bronze Casting: Process And Applications.